If you want a fast growing, low effort and nutrient rich plant to start your microgreen journey, methi fenugreek is a perfect choice. This post will walk you through everything you need to know about growing methi microgreens at home. You will learn about the basics of how the plant grows, the benefits of eating it young, how to care for it and how to troubleshoot common issues. The method section will give you clear steps so even a first time gardener can follow along with confidence.
For beginners, the expectations are simple. Methi microgreens grow quickly and usually show results within a few days. They do not require outdoor space, sunlight is helpful but not mandatory and the crop is forgiving of small mistakes. This is one of the easiest greens to grow at home especially if you want something fresh for your kitchen without waiting weeks.
Understanding Fenugreek Microgreens
Fenugreek is a hardy plant that germinates easily and grows well in warm climates. When grown as a full plant it develops leaves and seeds that are widely used in cooking. As a microgreen, you harvest the plant very early when it is tender and packed with nutrients.
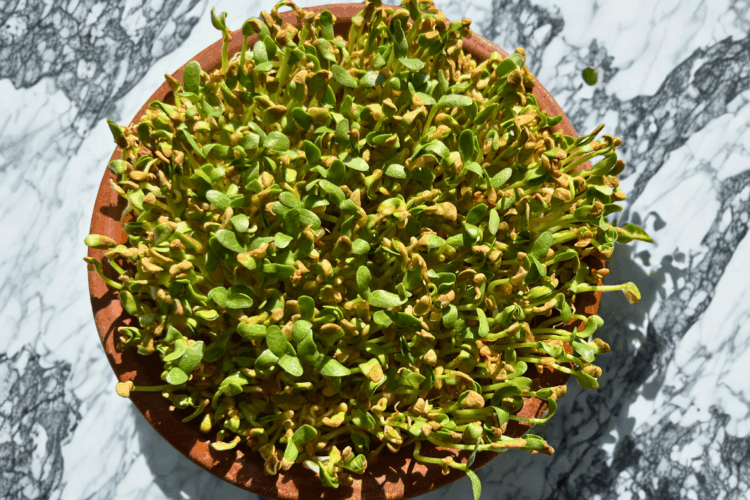
Microgreens are harvested at the cotyledon stage or just when the first true leaves begin to appear. At this stage the plant has concentrated flavor, a mild bitterness and soft texture that works well in salads, dals and sandwiches. Unlike sprouts, microgreens are grown in soil or a grow medium and they get light exposure which boosts their nutritional profile.
Growing methi microgreens needs three things which are moisture, warm temperature and moderate indirect light. The seeds do not need soaking for long periods although a short soak does improve germination speed. Soil depth is not important. A shallow tray works perfectly because the plants are harvested early.
Health Benefits
Methi microgreens contain vitamins A, C and K. They are rich in antioxidants and have a gentle digestive supporting quality. Many people use methi microgreens to add flavour without adding heavy seasoning. They support hair and skin health due to the presence of iron, and they offer a mild cooling effect when eaten raw.
Because these microgreens grow quickly, they provide a regular supply of fresh greens which is helpful for anyone trying to include more nutrient dense foods in their diet. They also suit people living in small apartments since the trays take very little space.
Culinary Use and Storage
Methi microgreens have many culinary applications. They add a fresh herbal flavour to salads, raitas and sandwiches. They can be sprinkled on top of cooked dishes such as khichdi, poha or upma for a bright finish. Some people blend them into green chutneys for an added nutrient boost. You can also fold them into paratha dough or garnish curries with them instead of full grown methi leaves.
For storage, keep the harvested microgreens wrapped in a slightly damp paper towel inside an airtight container. Store the container in the refrigerator. They usually stay fresh for three to four days. It is best to harvest only as much as you need because the taste is best when the greens are freshly cut.
Care and Maintenance
While methi microgreens are simple to grow, a little care ensures strong and healthy greens. Keep the soil or growth medium evenly moist. Allowing it to dry out completely can slow growth. Light watering twice a day in hot weather works well. Indirect sunlight or a bright indoor spot is enough. Too much harsh sunlight can dry the tray too quickly.
Air circulation matters because stagnant humidity can encourage mold. Keep the tray in a place with gentle airflow. Rotate the tray daily so the microgreens grow upright rather than leaning toward one direction.
Fertilizer is not necessary for microgreens because the seeds carry enough nutrition for early growth. Once you harvest the crop, compost the used soil or reuse it for outdoor plants after refreshing it with a little compost.
Good to Know
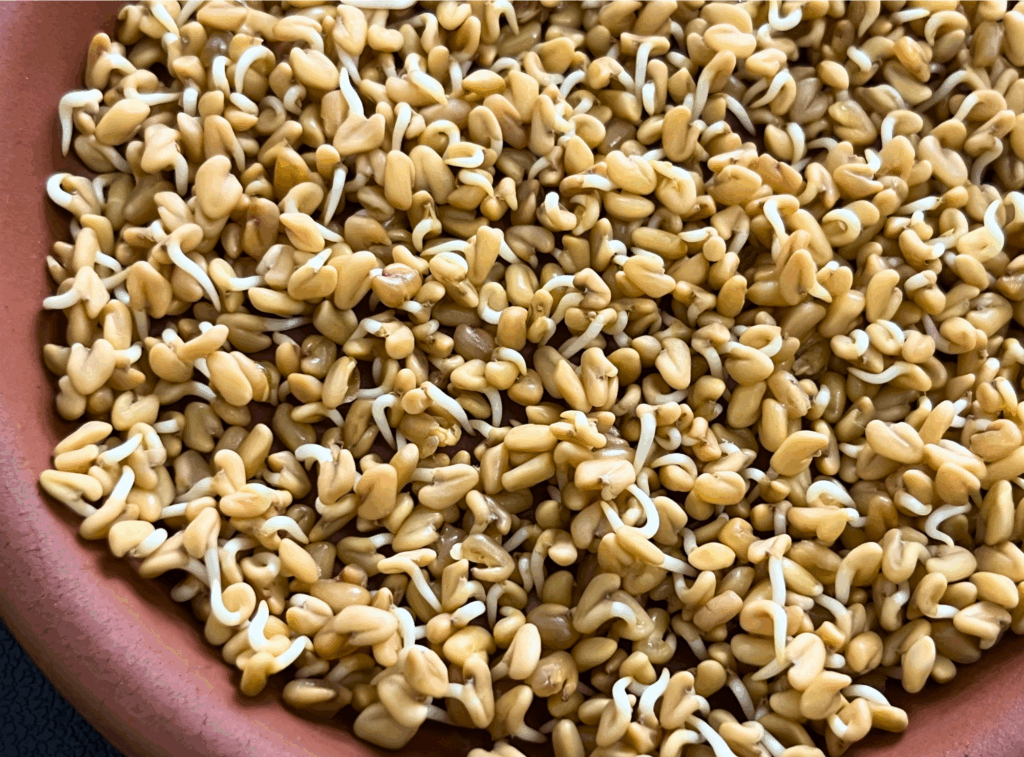
Methi microgreens germinate quickly which is satisfying for beginners. Young seeds sometimes push a thin seed coat to the surface which looks like a brown speck. This is normal and not something to worry about. The flavour of microgreens is more delicate than the taste of mature methi which is why it works well even for people who do not enjoy strong bitterness.
The roots will form a small mat underneath the soil. When you harvest, cut above the soil level and do not pull the plant out. Pulling can bring soil bits into the harvest. Harvesting with scissors or a clean knife produces cleaner greens.
Common Issues and How to Address Them
If your seeds are not germinating, check the moisture level. Both overly dry and overly wet soil can interfere with sprouting. The soil should feel damp but not soggy. If mold appears on the soil surface, it usually means poor air circulation. Increase airflow and reduce watering slightly. A thin layer of dry cocopeat on top can sometimes help keep the surface clean.
If your microgreens look pale, they are not getting enough light. Move them to a brighter location. If they look weak or tall and stretched, this is called legginess. It happens when the plant is trying to reach for light. Improve light exposure and the next batch will be stronger.
If the smell is unpleasant, the soil may be waterlogged. Allow the tray to dry slightly before watering again.
Tips for Success
Use fresh fenugreek seeds that are meant for planting or clean cooking grade seeds. Sow them densely because microgreens are meant to form a thick carpet. Keep the tray covered for the first one or two days to create a warm humid environment that encourages germination.
Water with a spray bottle instead of pouring water directly. This prevents disturbing the seeds. Place the tray where it gets bright indirect light because this keeps the greens compact and increases flavour. Harvest when the leaves are fully open but still tender. Try growing multiple trays a few days apart if you want a continuous supply.
How to Grow Fenugreek Microgreens at Home
Materials Required
- A shallow tray or wide container
- Potting mix, cocopeat or a microgreen growing medium
- Fenugreek seeds
- Spray bottle
- Kitchen strainer for rinsing seeds
- Scissors or a small knife for harvesting
Instructions
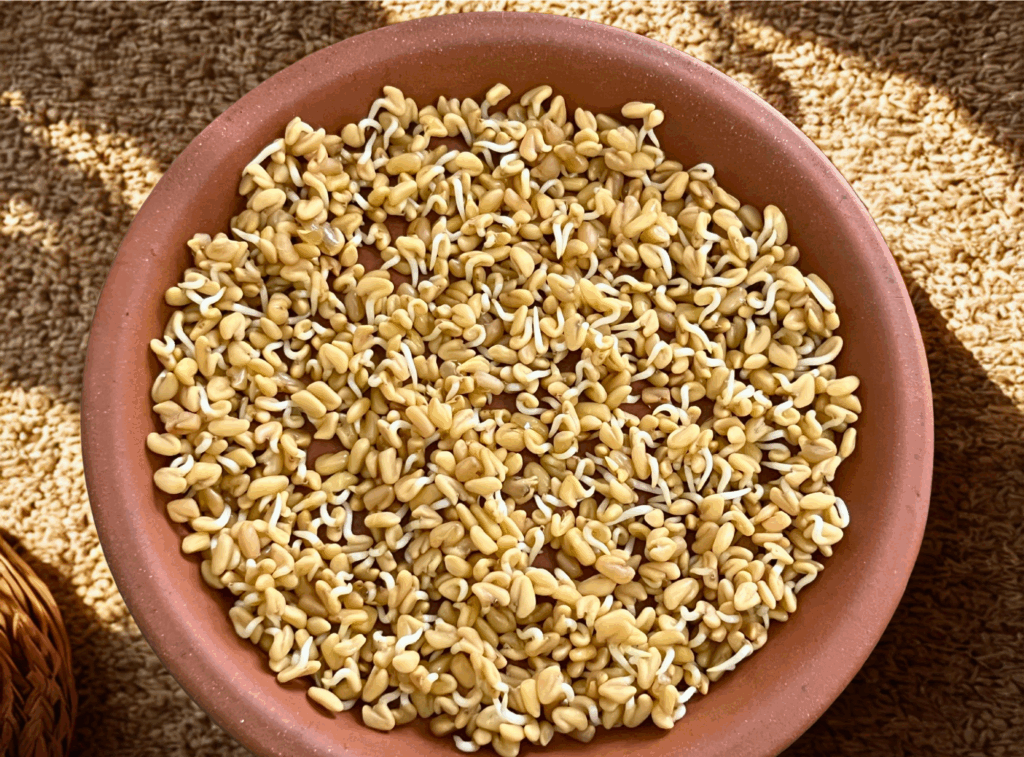
1. Rinse the fenugreek seeds in clean water. Optionally soak them for six to eight hours to speed up germination. Drain the water completely before sowing.
2. Fill your tray with potting mix or cocopeat. Level the surface without pressing too hard. A light and airy layer encourages root growth.
3. Scatter the seeds evenly across the surface. A dense layer is ideal for microgreens. There is no need to bury the seeds deeply. Gently press them into the surface so they make contact with the soil.
4. Mist the entire tray with water until the surface is evenly moist.
5. Cover the tray with a plate or lid for one or two days. This traps warmth and keeps moisture stable. Check once a day to ensure the soil has not dried out.
6. Once the seeds have sprouted and tiny shoots appear, remove the cover and place the tray in a bright area with indirect light.
7. Mist the microgreens lightly once or twice a day depending on room temperature. The soil should remain consistently damp.
8. In about six to nine days, the microgreens will be ready to harvest. Use scissors to cut them just above the soil line.
9. Rinse gently before use and enjoy them fresh or store them in the refrigerator for a few days.